Microsoft Build 2023ではプラグインが話題となりました。
このプラグインの機能はChatGPT、Bing Chat、Microsoft 365 Copilot等で活用される予定もあり、これからエンジニア界隈ではプラグインを作成する機会がどんどん増えてくると思います。
今後、自社のアイプリシティ チャットにもプラグイン機能を搭載する事があるかもしれません。
その可能性を探るため、今回はChatGPTのプラグインを自作し、Azure Cognitive Searchに接続してみました。
プラグインの構築方法
こちらのサイトの記事を参考にして構築しました。
構築したプラグインのソースコードは下記のGitHubで公開しています。
データについて
今回使用したデータは、自治体における「子育てAIチャットボット」の普及に向けたオープンデータ化についての「報告書」及び「FAQデータセット」です。このデータはオープンデータであり、CC-BY 4.0のライセンスに基づいて使用しています。
自治体における「子育てAIチャットボット」の普及に向けたオープンデータ化についての「報告書」及び「FAQデータセット」を公開 | LINE Corporation | CSR活動レポート
作業概要
プラグインは下記の方法で構築します。
- Visual StudioでBlazor Serverアプリを新規作成
- 必要なNuGetパッケージをインストール
- Program.csを修正
- Controller.csを追加
- .well-knownフォルダを作成し、ai-plugin.jsonとfavicon.pngを追加
作業手順
Visual StudioでBlazor Serverアプリを新規作成
Visual StudioでBlazor Serverアプリを新規に作成します。

必要なNuGetパッケージをインストール
下記のNugetパッケージをインストールします。
Microsoft.AspNetCore.OpenApiは最新バージョンは8.0.0なのですが、.Netのバージョン8が必須でした。
私がテストした環境では.Netのバージョンは7まで対応していたので、7.0.5のバージョンでテストしました。

Program.csを修正
Program.csを下記の内容で修正します。
using BlazorAppChatGPTPluginTEST.Data;
using Microsoft.Extensions.FileProviders;
using Microsoft.OpenApi.Models;

var builder = WebApplication.CreateBuilder(args);

// Add services to the container.
builder.Services.AddRazorPages();
builder.Services.AddServerSideBlazor();
builder.Services.AddSingleton<WeatherForecastService>();

// ** Create CORS policy called OpenAI
// to allow OpenAI to access the API
builder.Services.AddCors(options =>
{
    options.AddPolicy("OpenAI", policy =>
    {
        policy.WithOrigins(
            "https://chat.openai.com",
            "http://localhost:5200")
        .AllowAnyHeader()
        .AllowAnyMethod();
    });
});
// ** Add controllers to the application
builder.Services.AddControllers();
// ** Add Swagger/OpenAPI to the application
// Learn more about configuring Swagger/OpenAPI at https://aka.ms/aspnetcore/swashbuckle
builder.Services.AddEndpointsApiExplorer();

builder.Services.AddSwaggerGen(options =>
{
    options.CustomOperationIds(e => $"{e.ActionDescriptor.RouteValues["controller"]}_{e.HttpMethod}");
    options.SwaggerDoc("v1", new OpenApiInfo
    {
        Title = "Blazor Azure Cognitive Search Plugin",
        Version = "v1",
        Description = "Blazorで動作するAzure Cognitive Search接続用のプラグインです。"
    });
});

var app = builder.Build();

// Configure the HTTP request pipeline.
if (!app.Environment.IsDevelopment())
{
    app.UseExceptionHandler("/Error");
    // The default HSTS value is 30 days. You may want to change this for production scenarios, see https://aka.ms/aspnetcore-hsts.
    app.UseHsts();
}

// Disable this so that OpenAI can access the API
// without using https  (which is not supported by OpenAI)
//app.UseHttpsRedirection();

app.UseStaticFiles();

app.UseRouting();

app.MapBlazorHub();

app.MapControllers();

app.MapFallbackToPage("/_Host");


// ** CORS to allow OpenAI to access the API
app.UseCors("OpenAI");

// ** Serve the .well-known folder for OpenAI
app.UseStaticFiles(new StaticFileOptions
{
    FileProvider = new PhysicalFileProvider(
        Path.Combine(Directory.GetCurrentDirectory(), ".well-known")),
    RequestPath = "/.well-known"
});

// ** UseSwagger
app.UseSwagger(c =>
{
    c.PreSerializeFilters.Add((swaggerDoc, httpReq) =>
    {
        swaggerDoc.Servers = new List<OpenApiServer> {
                        new OpenApiServer {
                            Url = $"{httpReq.Scheme}://{httpReq.Host.Value}"
                        }
                    };
    });
});

// ** UseSwaggerUI
app.UseSwaggerUI(x =>
{
    x.SwaggerEndpoint(
        "/swagger/v1/swagger.yaml",
        "Blazor TODO Plugin (no auth)"
        );
});

app.Run();
CORSの箇所に記載するURLは、launchSettings.jsonファイルを参照して確認します。
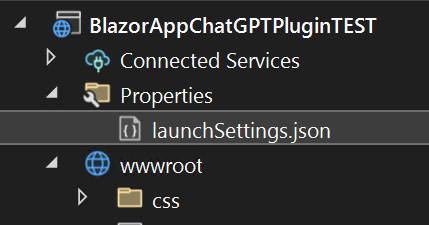
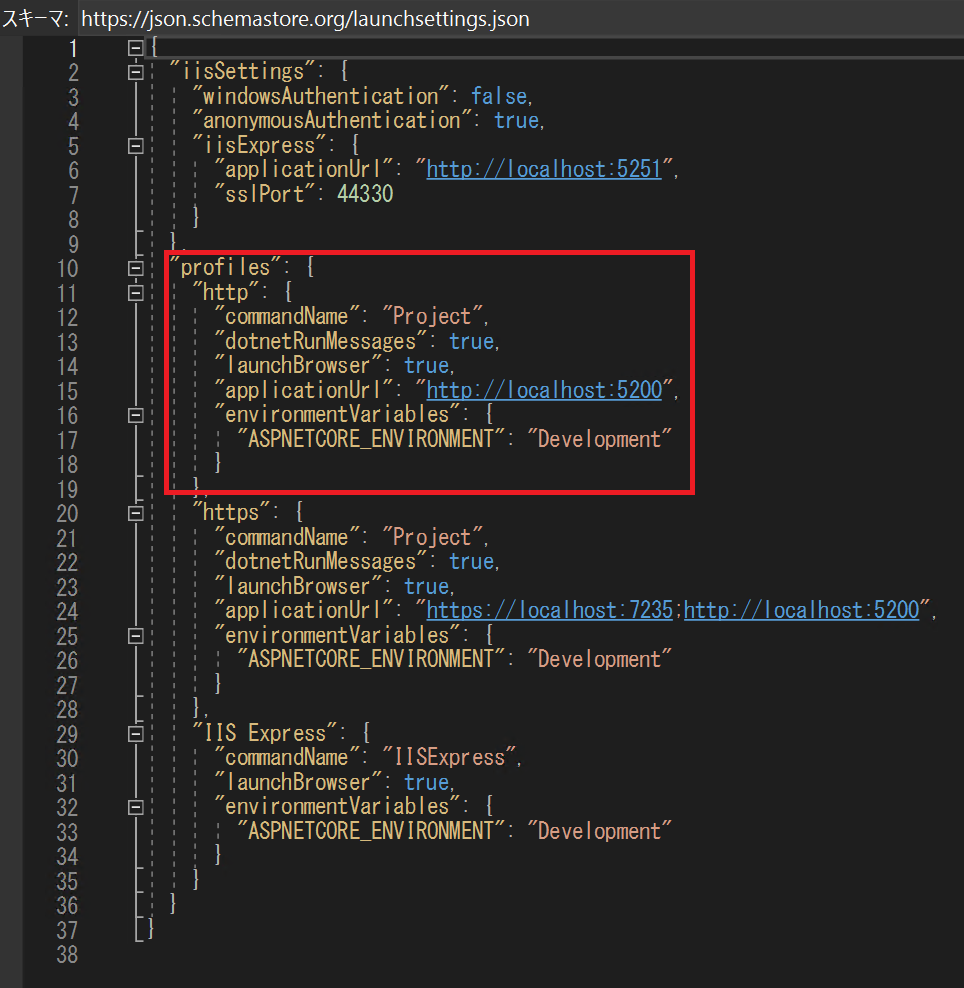
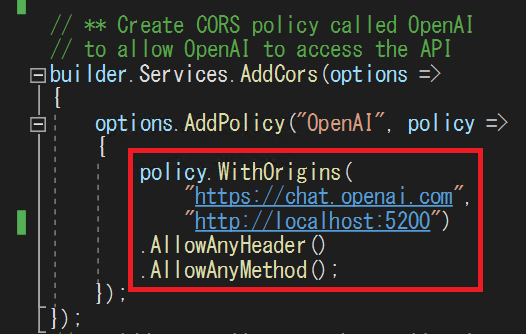
今回のテストではhttpアクセスを使用するので、http://localhost:5200をProgram.csのCORSの箇所に追記します。
※ご使用の環境によりポート番号は変わりますので、ご注意ください。
この設定により、WebブラウザのChatGPT経由でローカルで起動しているBlazor Serverにアクセスが可能になります。
Program.csのSwaggerDocには、任意の説明を記載してください。

Controller.csを追加
Controller.csを追加して、下記の内容を記載します。
using Azure;
using Azure.Search.Documents;
using Azure.Search.Documents.Models;
using Microsoft.AspNetCore.Mvc;

namespace BlazorAppChatGPTPluginTEST.Controllers
{
    [ApiController]
    [ApiExplorerSettings(GroupName = "v1")]
    [Produces("application/json")]
    [Route("[controller]")]
    public class TodosController : ControllerBase
    {
        private const string AZURESEARCH_SERVICE = "************";
        private const string AZURESEARCH_INDEX = "********";
        private const string AZURESEARCH_API_KEY = "****************";

        [ProducesResponseType(StatusCodes.Status200OK)]
        [ProducesResponseType(StatusCodes.Status404NotFound)]
        [HttpGet("{searchText}")]
        public async Task Search(string searchText)
        {
            Uri serviceEndpoint = new Uri($"https://{AZURESEARCH_SERVICE}.search.windows.net/");
            AzureKeyCredential credential = new AzureKeyCredential(AZURESEARCH_API_KEY);
            SearchClient client = new SearchClient(serviceEndpoint, AZURESEARCH_INDEX, credential);

            var searchOptions = new SearchOptions
            {
                Filter = null,
                Size = 5
            };

            // 検索を実行し、結果を取得します。
            SearchResults<SearchResult> response = await client.SearchAsync<SearchResult>(searchText, searchOptions);

            List<SearchResult> searchResults = new List<SearchResult>();

            // 応答を解析し、SearchResultオブジェクトのリストに変換します。
            foreach (var result in response.GetResults())
            {
                    SearchResult searchResult = new SearchResult
                    {
                        SearchScore = result.Score.HasValue ? result.Score.Value : 0.0,
                        ID = result.Document.ID,
                        SampleID = result.Document.SampleID,
                        SampleQuestion = result.Document.SampleQuestion,
                        SampleAnswer = result.Document.SampleAnswer
                    };

                    searchResults.Add(searchResult);
            }

            return Ok(searchResults);
        }

    }
    public class SearchResult
    {
        public double SearchScore { get; set; }
        public string ID { get; set; }
        public string SampleID { get; set; }
        public string SampleQuestion { get; set; }
        public string SampleAnswer { get; set; }
    }

}
検索したいAzure Cognitive Searchのサービス名、インデックス名、APIキーを設定して下さい。

Azure Cognitive Searchにはテストデータとして下記を登録しています。
SearchResultクラスは下記のデータを取得する想定で作成しています。
Azure Cognitive Searchに登録したデータを考慮して、SearchResultクラスの内容は修正してください。

.well-knownフォルダを作成し、ai-plugin.jsonとfavicon.pngを追加
.well-knownフォルダをプロジェクトに追加します。
作成したフォルダに、ai-plugin.jsonとfavicon.pngを作成します。
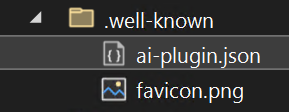
今回、私が作成したai-plugin.jsonの内容は下記です。
下記のdescriptionの箇所に記載されている文章は、GPTがユーザーからの質問に対して、このプラグインを使用するべきか判断する為の情報として使用されます。
文字数には制限がありますので、使用用途がわかりやすいように簡潔にまとめる必要があります。
※descriptionの文章はGPTに相談して作成した方がよいと思います。
{
  "schema_version": "v1",
  "name_for_human": "Azure Cognitive Search接続用プラグイン",
  "name_for_model": "blazoracs",
  "description_for_human": "Azure Cognitive Searchの検索をするためのプラグイン",
  "description_for_model": "Azure Cognitive Searchの検索をするためのプラグイン",
  "auth": {
    "type": "none"
  },
  "api": {
    "type": "openapi",
    "url": "http://localhost:5200/swagger/v1/swagger.yaml",
    "is_user_authenticated": false
  },
  "logo_url": "http://localhost:5200/.well-known/favicon.png",
  "contact_email": "contact@email.com",
  "legal_info_url": "http://example.com/legal"
}
apiとlogoのURLはlaunchSettings.jsonで確認したポート番号を設定して下さい。

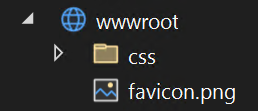
favicon.pngは、wwwroot配下に保存されていたpngファイルを利用しました。

プラグインの実行
visual studioでデバッグを開始します。
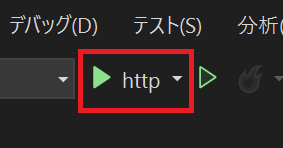
画面上部にあるhttpボタンを押します。
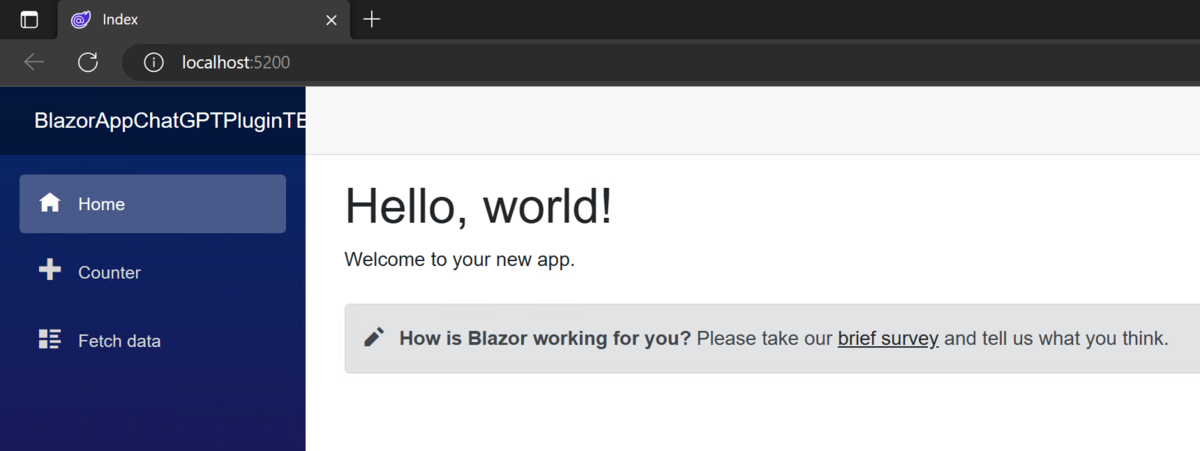
Blazor Serverが起動します。
※Blazor Serverのこの画面は起動するだけで、今回は特に使用しません。
ChatGPTのWebサイトを表示します。
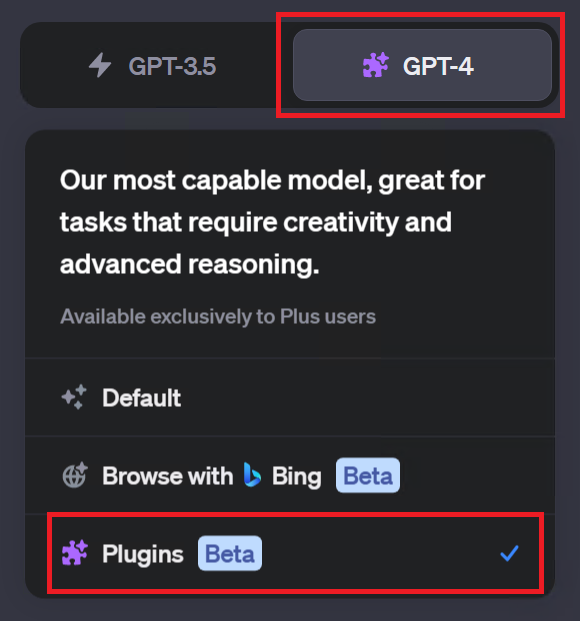
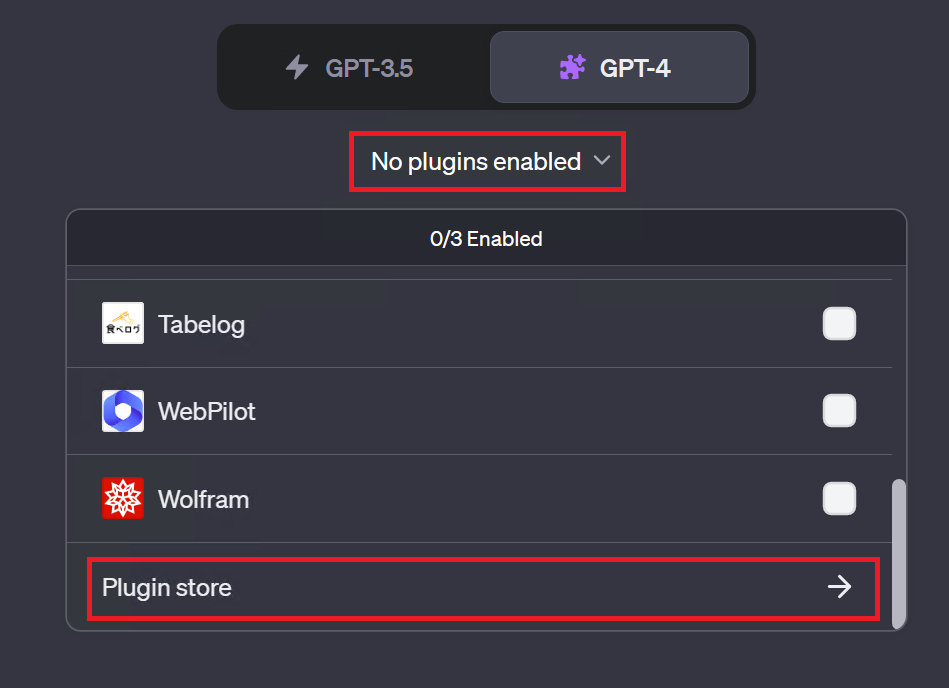
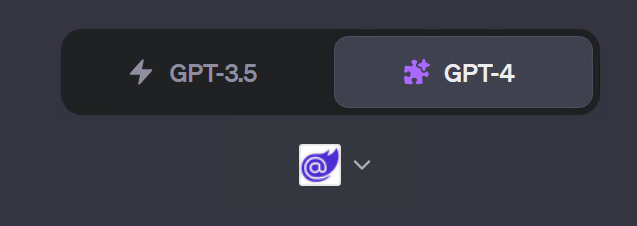
GPT-4を選択した際に下部に表示されるPluginsを選択します。
※この記事を作成している2023年5月31日の時点では、PluginsはChatGPTの有料会員しか利用できません。
No plugins enabledを選択し、下部に表示されるPlugin storeを選択します。
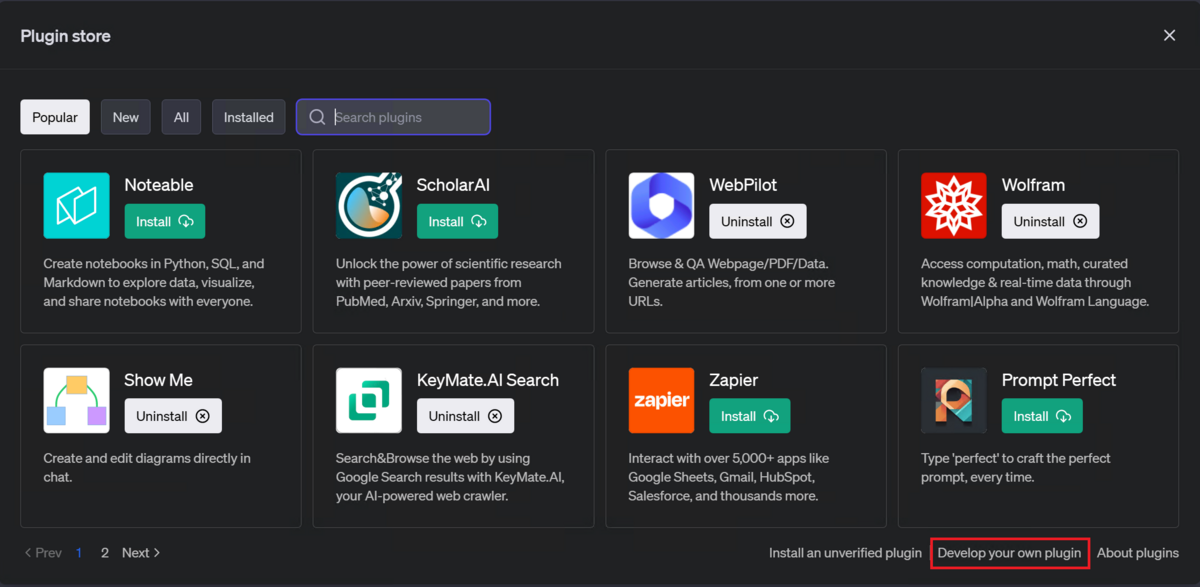
Plugin storeが表示されたら、画面右下にあるDevelop your own pluginを選択します。
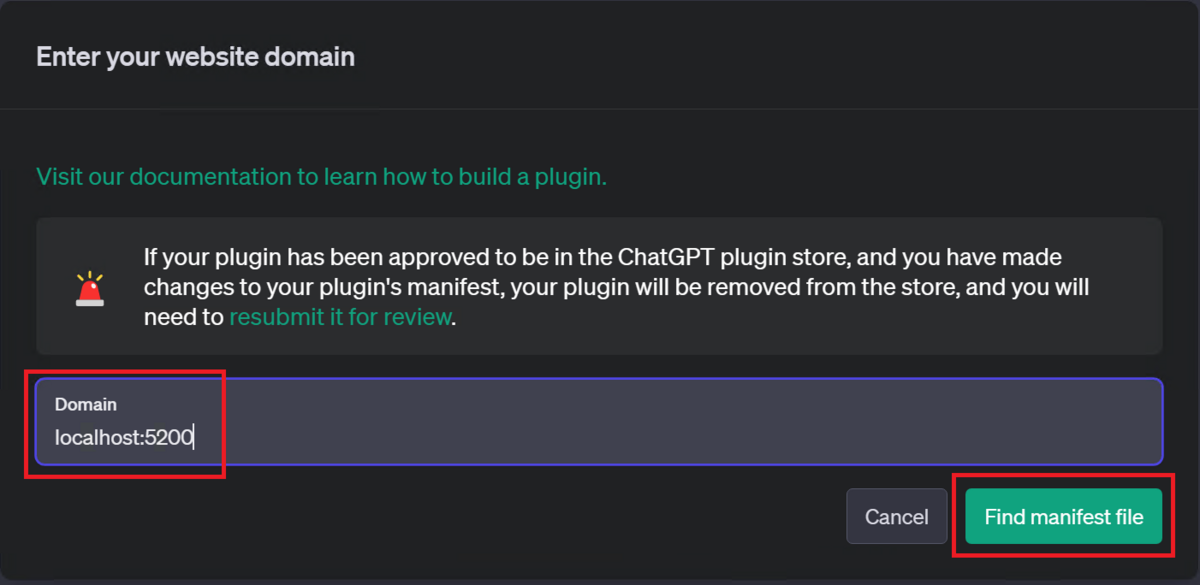
Domainを登録する画面が表示されるので、launchSettings.jsonで確認したアドレスとポート番号を入力します。
※今回のテストでは、localhostを指定します。
画面右下のFind manifest fileを選択します。
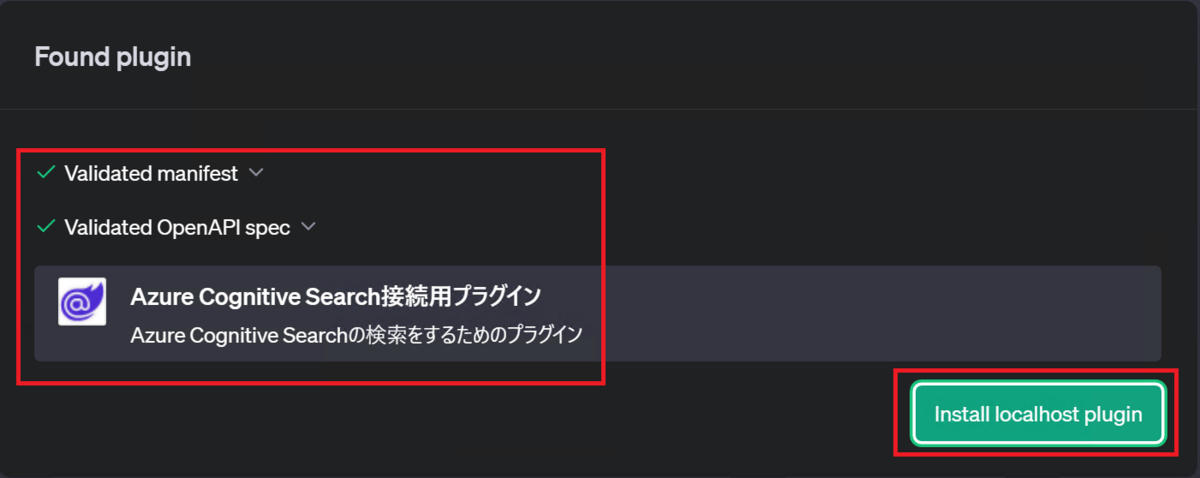
問題がなければ、自作したプラグインが表示されます。
※favicon画像が無かったり、ai-plugin.jsonのdescriptionの文章が長すぎるとエラーが発生します。
画面右下のInstall localhost pluginを選択します。
画面上部に、自作したプラグインが表示されます。
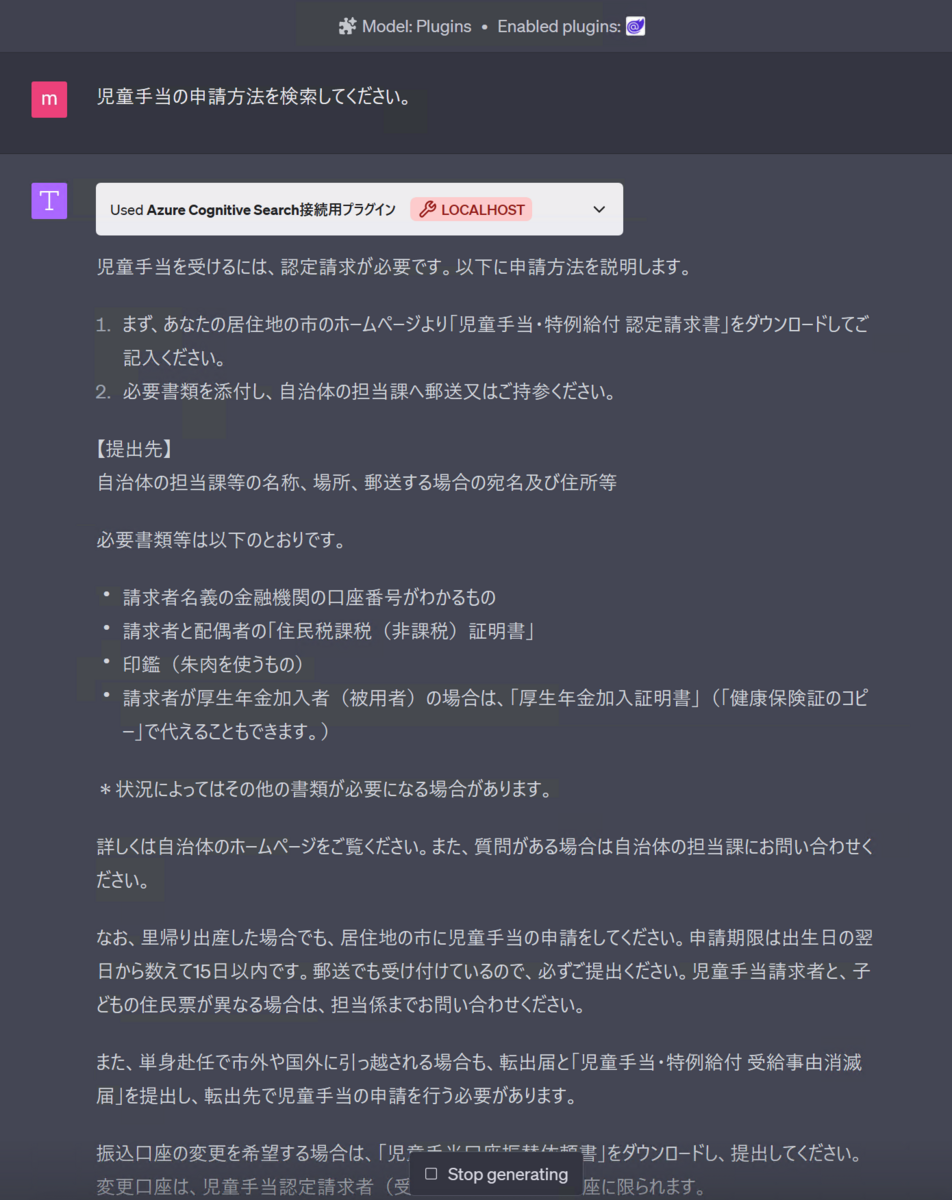
試しに「児童手当の申請方法」を検索してみます。
自作したプラグインを使用して、Azure Cognitive Searchからデータを取得して説明してくれました。
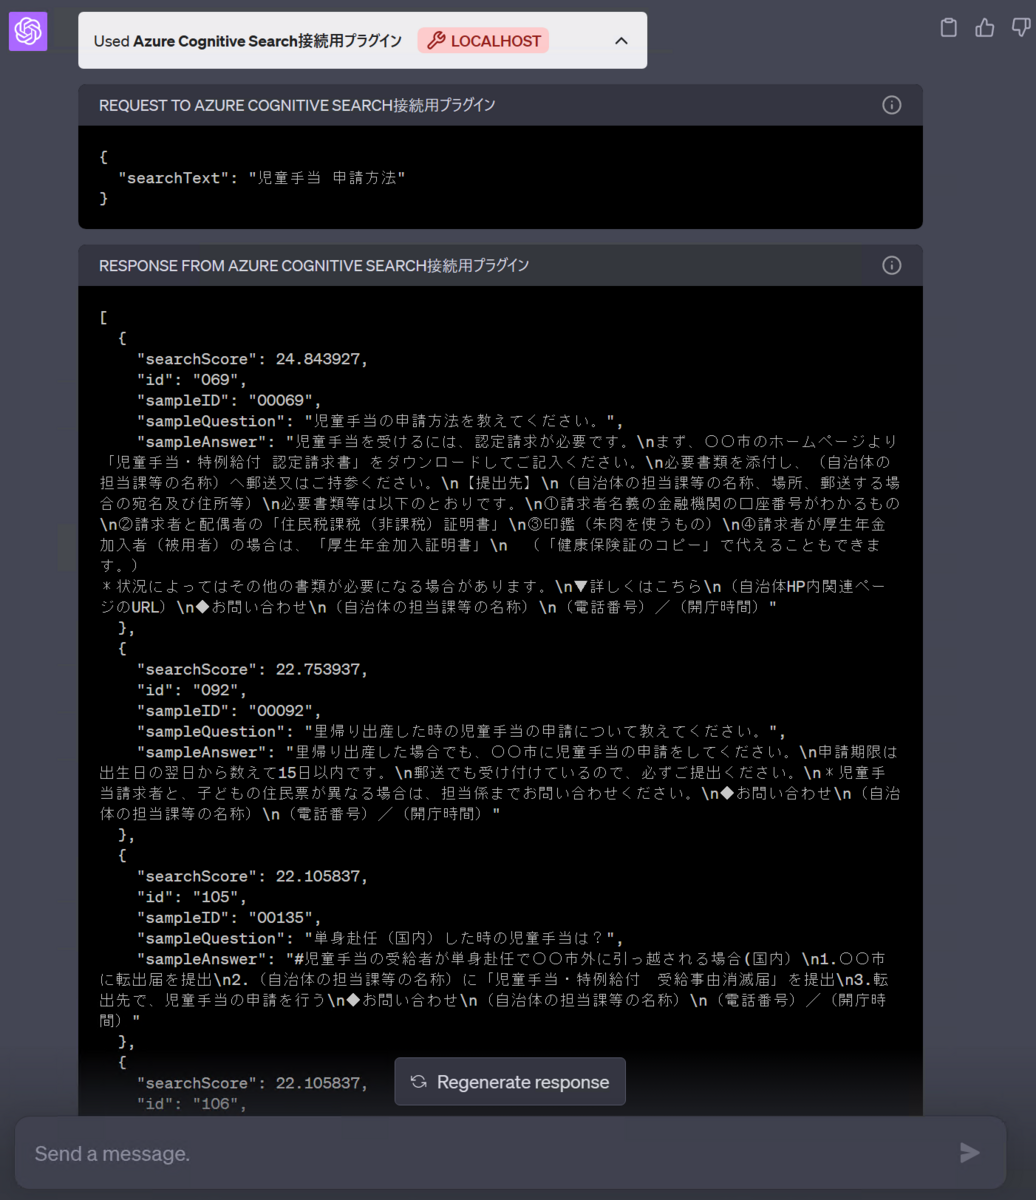
表示されている自作のプラグイン名をクリックすると、Azure Cognitive Searchからどのようなキーワードで検索してデータを取得したのかわかります。
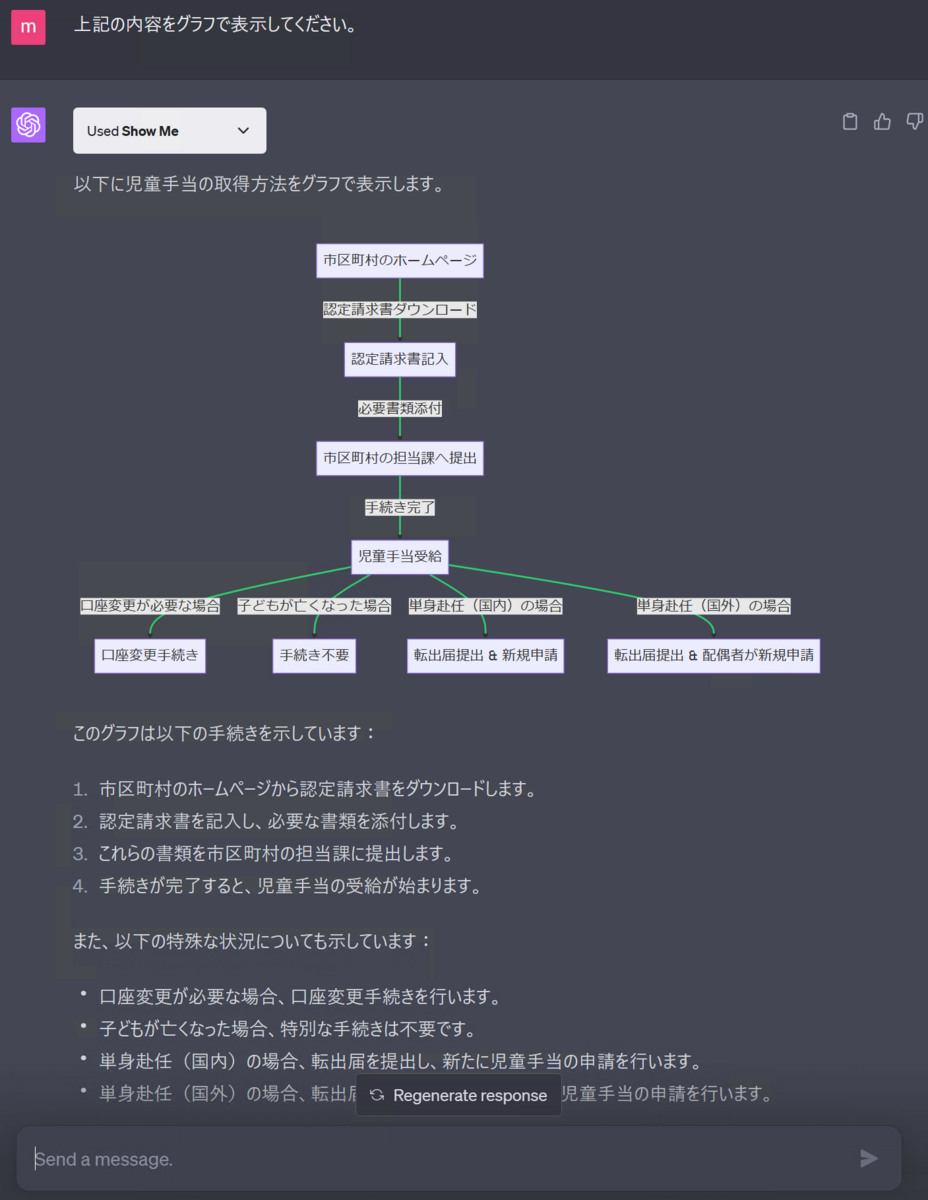
ChatGPT経由で検索できるので、当然ですが他のプラグインとも連携して使用できます。
試しに、ChatGPT pluginsで使用できるShow Meと連携してみます。

グラフで表示させてみます。
とてもわかりやすいグラフを数秒で作成してくれました。
まとめ
プラグインを自作してAzure Cognitive Searchに接続することができました。
今回はテストだったのでhttpアクセスで実行しましたが、業務で使用するのであればCORSの設定を含め、セキュリティについても考慮が必要です。
正直、今回のようにAzure Cognitive Searchに接続するだけであればOpenAIが公開しているretrieval-pluginでも同様の対応は可能だと思います。
ただ、プラグインの作成方法を理解しておけば、データを検索するだけでなく、社内外の様々なユーザーの要望に応える事ができます。
作成したプラグインを、Semantic Kernel、ChatGPT、Bing Chat等でどのように活用していくのかは、これからエンジニアが直面する課題だと思いますので、活用方法について引き続き検討していきます。

