機械学習用の画像データについて
機械学習で使用する画像データは、多数用意する必要があります。
Azure Cognitive ServicesのCustom Visionでは、分類するラベルごとに最低でも50枚以上の画像を用意することを推奨しています。
ただ、準備するのは大変なので、3Dモデルを活用して画像データを大量に作成できないか試してみました。
3Dモデルを作成する方法
3Dモデルを作成するアプリは、たくさんリリースされています。
LiDAR搭載機を使用するアプリが増えていますが、対応機種をもっていないので、スキャンタイプがフォトグラメトリであるTrnio 3D Scannerを試してみました。
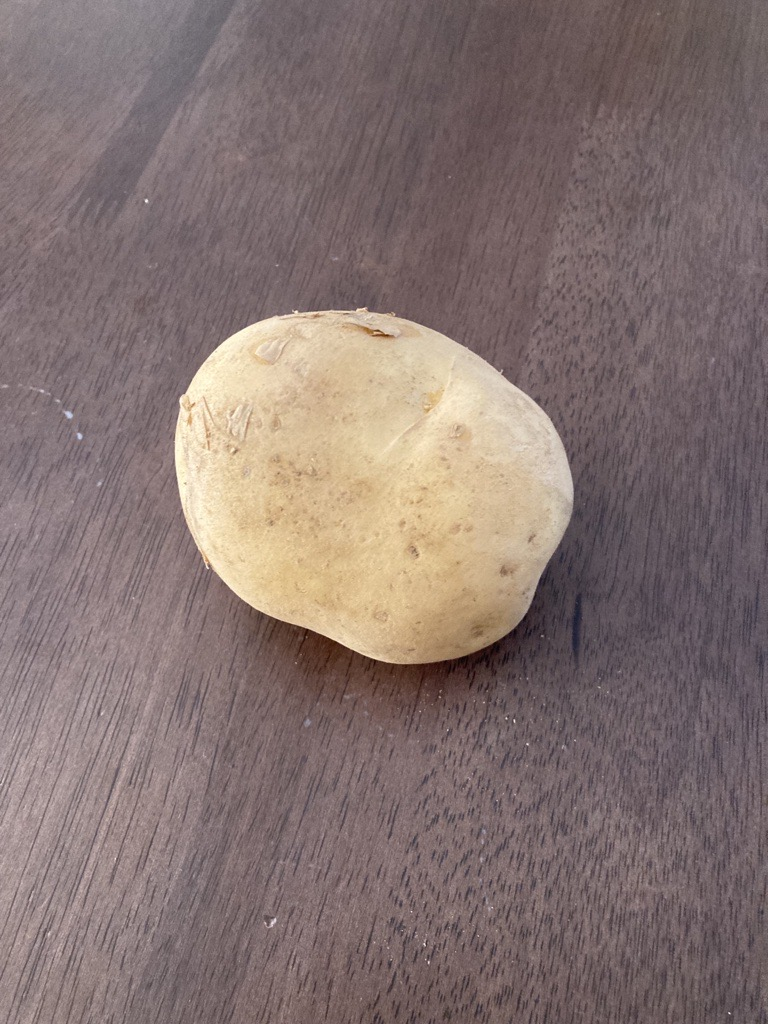
今回は、自宅にあったじゃがいもを3Dモデルとして作成します。
下記のサイトに記載されているように、とても簡単に3Dモデルを作成することができました。
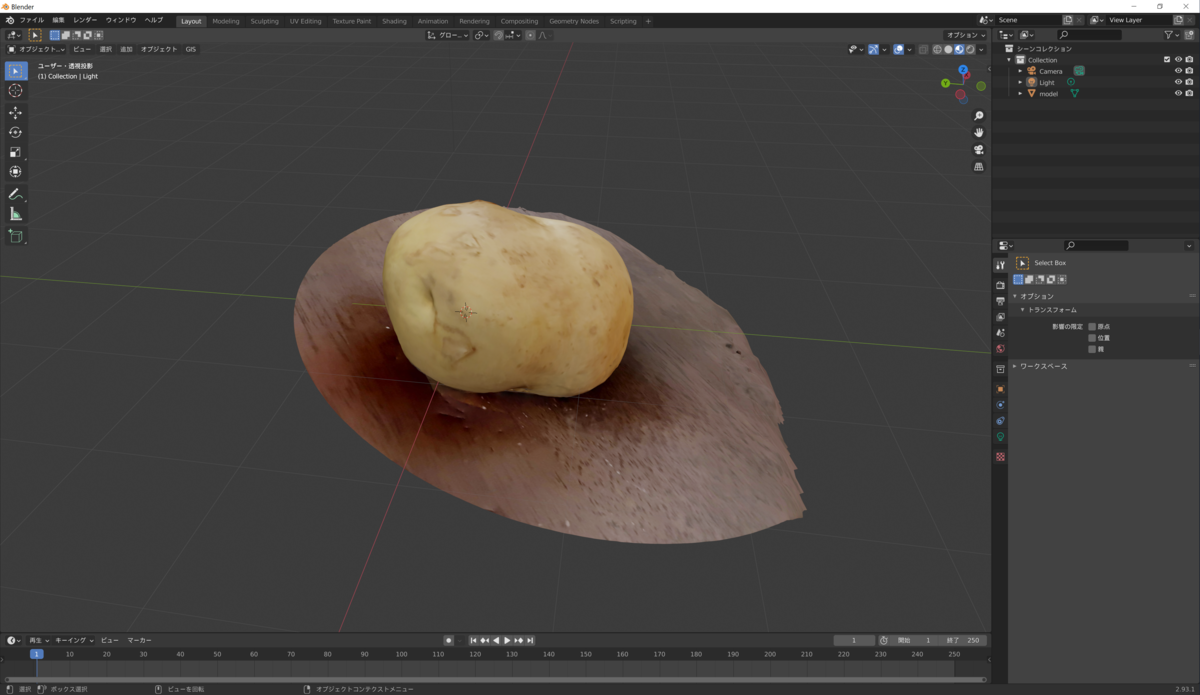
作成した3DモデルをBlenderで表示してみました。

とてもきれいな3Dモデルが作成できました。
3Dモデルから画像データを作成する方法
BlenderとPythonのスクリプトを使用して、3Dモデルから画像データを作成します。
下記のサイトを参考にPythonスクリプトを作成しました。
import bpy
import numpy as np
import os
import re
def object_shift(object, locate_x, locate_y, locate_z, rotate_x, rotate_y, rotate_z):
'''-----------------------
関数obj_shiftの役目
object:移動したいオブジェクト
locate_xyz:移動座標
rotate_xyz:変更方向
------------------------'''
obj = object
obj.location.x = locate_x
obj.location.y = locate_y
obj.location.z = locate_z
obj.rotation_euler[0] = rotate_x
obj.rotation_euler[1] = rotate_y
obj.rotation_euler[2] = rotate_z
def rendering(camera_num,size):
# path取得
#path = os.path.dirname(os.path.abspath(__file__)) + '/' + 'UjctDuOWFF' + '/'
'''-----------------------
camera_num:正の整数:カメラの角度
size:配列:画像サイズ
-----------------------'''
scene = bpy.context.scene
scene.render.resolution_x = size[0]
scene.render.resolution_y = size[1]
scene.render.resolution_percentage = 100
#カラー表示
scene.render.image_settings.color_mode = 'RGBA'
#背景が白っぽくなる?
###bpy.data.worlds["World"].node_tree.nodes["Background"].inputs[0].default_value = (1.0, 1.0, 1.0, 1)
###bpy.context.scene.world.node_tree.nodes['Environment Texture'].image = bpy.data.images.load(os.path.dirname(os.path.abspath(__file__)) + '/' + '0007_16k.jpg')
bpy.context.scene.world.node_tree.nodes["Background"].inputs["Color"].default_value = (1,1,1,1)
#レンダリングの処理で終わるまで次の実行はできない
bpy.ops.render.render()
bpy.data.images['Render Result'].save_render(filepath = os.path.dirname(os.path.abspath(__file__)) + '/image/' + str("{0:03d}".format(camera_num)) +'.jpg')
if __name__ == "__main__":
#カメラ以外のオブジェクト削除
for item in bpy.data.objects:
item_name = item.name
if(item_name != "Camera"):
bpy.data.objects.remove(item)
for item in bpy.data.meshes:
bpy.data.meshes.remove(item)
for item in bpy.data.materials:
bpy.data.materials.remove(item)
# path取得
path = os.path.dirname(os.path.abspath(__file__)) + '/' + 'UjctDuOWFF' + '/'
# オブジェクトファイルの名前の取得
file_list = os.listdir(path)
# 'obj'がつくデータobj_listに追加
obj_list = [item for item in file_list if item[-3:] == 'obj']
item = obj_list[0]
full_path_to_file = os.path.join(path, item)
#オブジェクトを配置
bpy.ops.import_scene.obj(filepath=full_path_to_file, axis_forward='X', axis_up='Y')
#設定
###objectfile_name = 'bugatti' #変換したいオブジェクトが入ったファイル名
rendering_count = 36 #1つのオブジェクトごとに作成する画像の数
image_size = [512,512] #作成する画像サイズ
###rendering_distance = 25 #オブジェクトとカメラの距離
rendering_distance = 12 #オブジェクトとカメラの距離
camera_height = 1 #カメラの高さ
# カメラの取得
obj = bpy.data.objects["Camera"]
# カメラを回しながら画像をレンダリング
for camera_num in range(rendering_count):
rad = camera_num * np.pi * 2 / rendering_count
object_shift(obj, rendering_distance * np.cos(rad),rendering_distance * np.sin(rad)+2,camera_height,np.pi/2,0,rad + np.pi/2)
rendering(camera_num=camera_num,
size =image_size)
# blenderを終了
bpy.ops.wm.quit_blender()
Azure Cognitive ServicesのCustom Visionでテストした結果
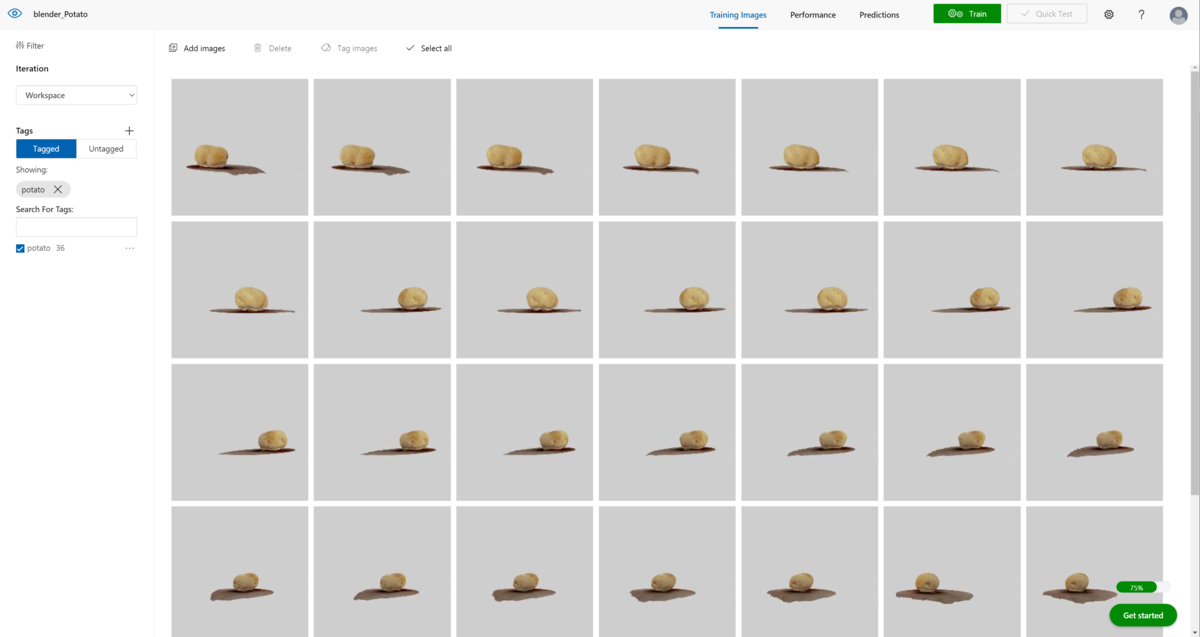
作成した画像をCustom Visionに学習させます。(3Dモデルから作成した画像のみで学習させる)
ラベル名はpotatoに設定して学習させました。
下記のテスト結果がでました。
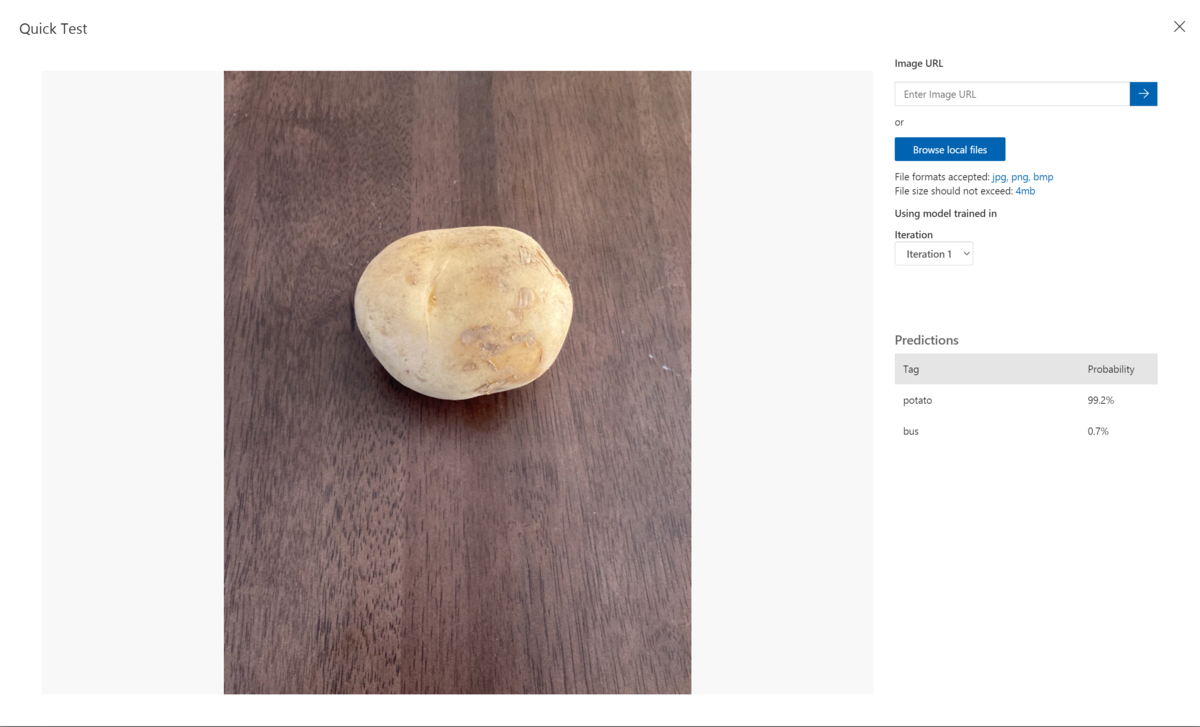
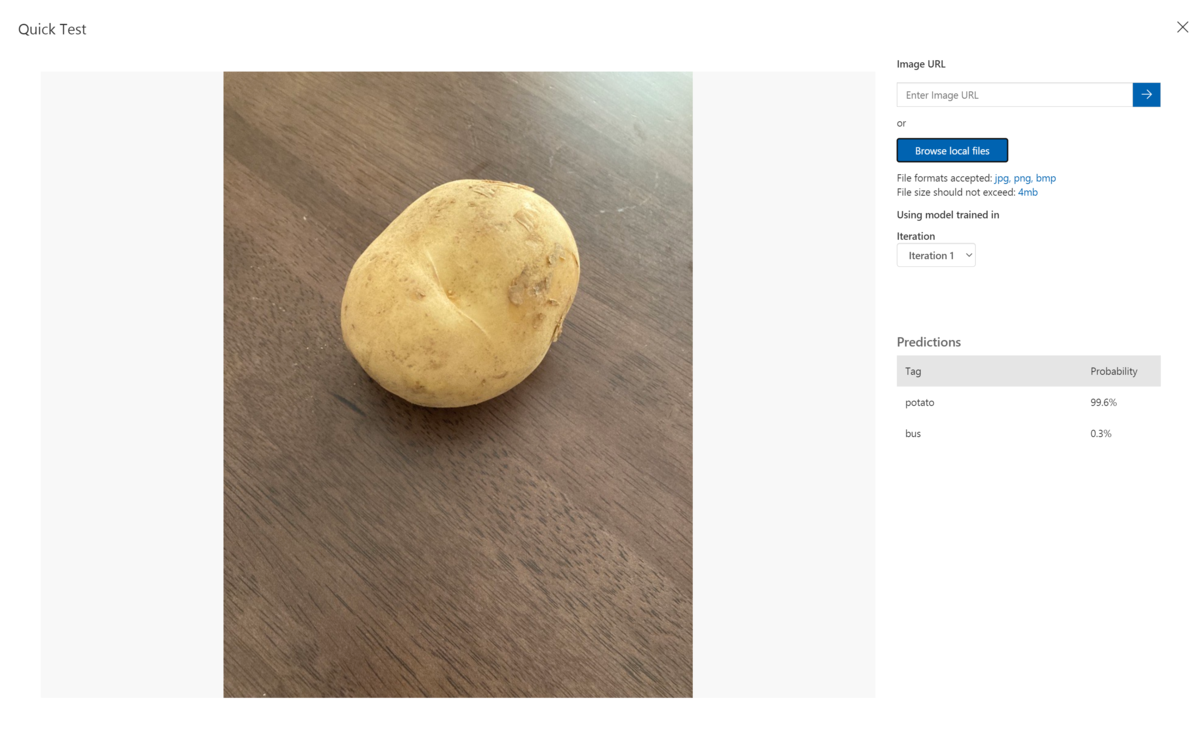
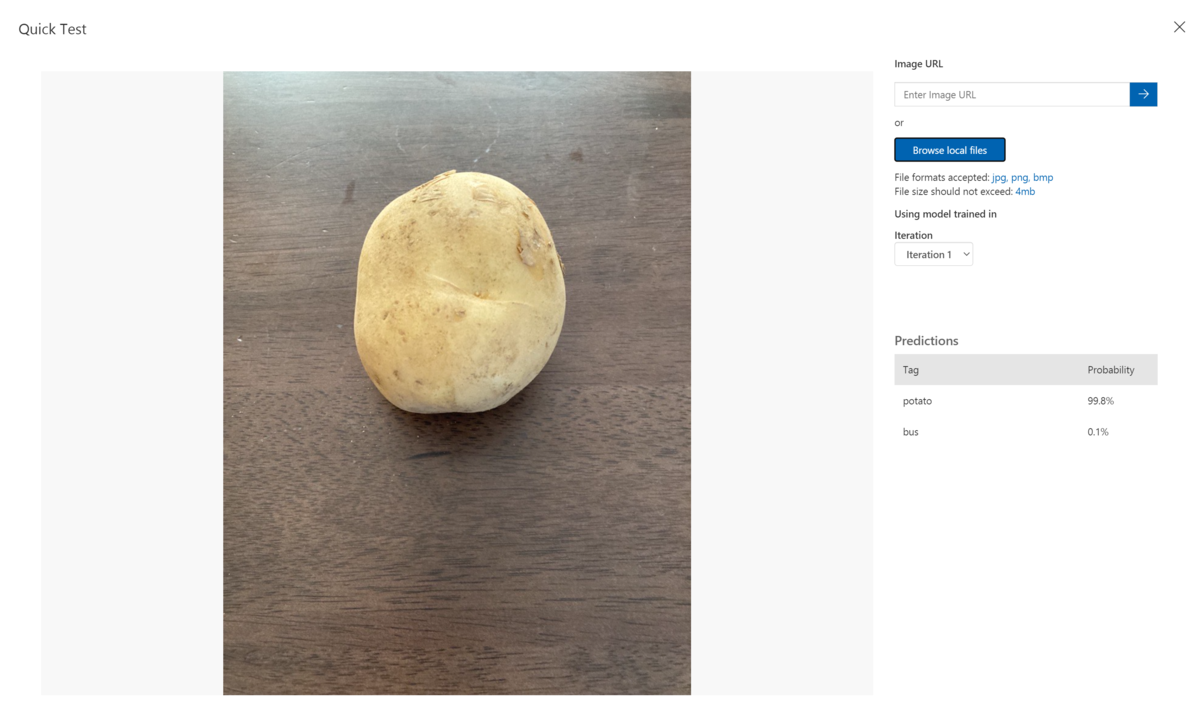
Predictionsとして、3枚のテスト画像全て99%のProbabilityという結果が出ました。
3Dモデルを使用することで、機械学習用の画像データが作成できることを確認できました。
Blenderでは、機械学習用の画像データを作成するツールとしてBlenderProcが公開されていますので、今度試してみます。